新手入门
¥Get started
在本指南中,我们将创建一个基本的聊天应用。它几乎不需要 Node.JS 或 Socket.IO 的基础知识,因此它适合所有知识水平的用户。
¥In this guide we’ll create a basic chat application. It requires almost no basic prior knowledge of Node.JS or Socket.IO, so it’s ideal for users of all knowledge levels.
介绍
¥Introduction
使用 LAMP (PHP) 等流行的 Web 应用堆栈编写聊天应用通常非常困难。它涉及轮询服务器以了解更改,跟踪时间戳,并且它比应有的速度要慢得多。
¥Writing a chat application with popular web applications stacks like LAMP (PHP) has normally been very hard. It involves polling the server for changes, keeping track of timestamps, and it’s a lot slower than it should be.
传统上,套接字是大多数实时聊天系统构建的解决方案,在客户端和服务器之间提供双向通信通道。
¥Sockets have traditionally been the solution around which most real-time chat systems are architected, providing a bi-directional communication channel between a client and a server.
这意味着服务器可以向客户端推送消息。每当你编写聊天消息时,服务器都会获取它并将其推送到所有其他连接的客户端。
¥This means that the server can push messages to clients. Whenever you write a chat message, the idea is that the server will get it and push it to all other connected clients.
Web 框架
¥The web framework
第一个目标是建立一个简单的 HTML 网页,提供表单和消息列表。为此,我们将使用 Node.JS Web 框架 express。确保已安装 Node.JS。
¥The first goal is to set up a simple HTML webpage that serves out a form and a list of messages. We’re going to use the Node.JS web framework express to this end. Make sure Node.JS is installed.
首先让我们创建一个描述我们项目的 package.json 清单文件。我建议你将其放在一个专用的空目录中(我将其称为我的 chat-example)。
¥First let’s create a package.json manifest file that describes our project. I recommend you place it in a dedicated empty directory (I’ll call mine chat-example).
{
  "name": "socket-chat-example",
  "version": "0.0.1",
  "description": "my first socket.io app",
  "dependencies": {}
}
"name" 属性必须是唯一的,不能使用 "socket.io" 或 "express" 这样的值,因为 npm 在安装依赖时会抗诉。
¥The "name" property must be unique, you cannot use a value like "socket.io" or "express", because npm will complain when installing the dependency.
现在,为了轻松地用我们需要的东西填充 dependencies 属性,我们将使用 npm install:
¥Now, in order to easily populate the dependencies property with the things we need, we’ll use npm install:
npm install express@4
安装后,我们可以创建一个 index.js 文件来设置我们的应用。
¥Once it's installed we can create an index.js file that will set up our application.
const express = require('express');
const app = express();
const http = require('http');
const server = http.createServer(app);

app.get('/', (req, res) => {
  res.send('<h1>Hello world</h1>');
});

server.listen(3000, () => {
  console.log('listening on *:3000');
});
这意味着:
¥This means that:
Express 将
app初始化为可以提供给 HTTP 服务器的函数处理程序(如第 4 行所示)。¥Express initializes
appto be a function handler that you can supply to an HTTP server (as seen in line 4).我们定义了一个路由处理程序
/,当我们访问网站首页时,该处理程序会被调用。¥We define a route handler
/that gets called when we hit our website home.我们让 http 服务器监听端口 3000。
¥We make the http server listen on port 3000.
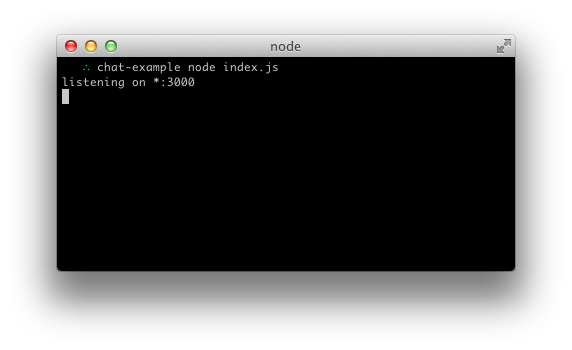
如果运行 node index.js,你应该看到以下内容:
¥If you run node index.js you should see the following:
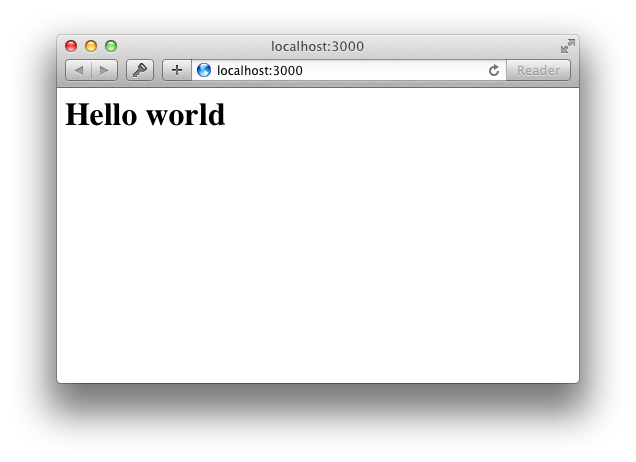
如果你将浏览器指向 http://localhost:3000:
¥And if you point your browser to http://localhost:3000:
服务 HTML
¥Serving HTML
到目前为止,在 index.js 中,我们调用 res.send 并向其传递一个 HTML 字符串。如果我们只是将整个应用的 HTML 放在那里,我们的代码看起来会非常混乱,因此我们将创建一个 index.html 文件并提供该文件。
¥So far in index.js we’re calling res.send and passing it a string of HTML. Our code would look very confusing if we just placed our entire application’s HTML there, so instead we're going to create a index.html file and serve that instead.
让我们重构我们的路由处理程序以使用 sendFile 代替。
¥Let’s refactor our route handler to use sendFile instead.
app.get('/', (req, res) => {
  res.sendFile(__dirname + '/index.html');
});
将以下内容放入你的 index.html 文件中:
¥Put the following in your index.html file:
<!DOCTYPE html>
<html>
  <head>
    <title>Socket.IO chat</title>
    <style>
      body { margin: 0; padding-bottom: 3rem; font-family: -apple-system, BlinkMacSystemFont, "Segoe UI", Roboto, Helvetica, Arial, sans-serif; }

      #form { background: rgba(0, 0, 0, 0.15); padding: 0.25rem; position: fixed; bottom: 0; left: 0; right: 0; display: flex; height: 3rem; box-sizing: border-box; backdrop-filter: blur(10px); }
      #input { border: none; padding: 0 1rem; flex-grow: 1; border-radius: 2rem; margin: 0.25rem; }
      #input:focus { outline: none; }
      #form > button { background: #333; border: none; padding: 0 1rem; margin: 0.25rem; border-radius: 3px; outline: none; color: #fff; }

      #messages { list-style-type: none; margin: 0; padding: 0; }
      #messages > li { padding: 0.5rem 1rem; }
      #messages > li:nth-child(odd) { background: #efefef; }
    </style>
  </head>
  <body>
    <ul id="messages"></ul>
    <form id="form" action="">
      <input id="input" autocomplete="off" /><button>Send</button>
    </form>
  </body>
</html>
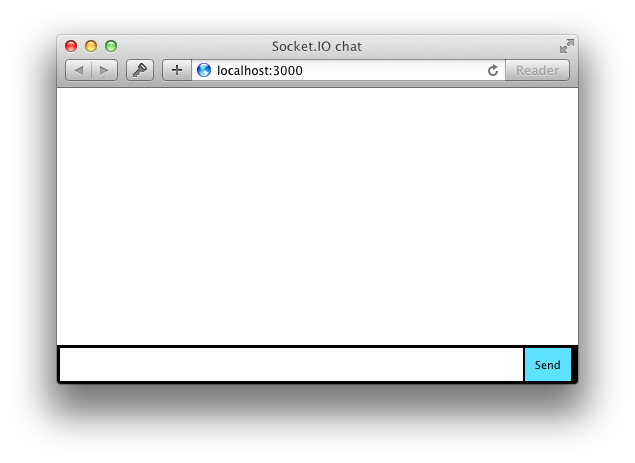
如果你重新启动该进程(通过按 Control+C 并再次运行 node index.js)并刷新页面,它应该如下所示:
¥If you restart the process (by hitting Control+C and running node index.js again) and refresh the page it should look like this:
集成 Socket.IO
¥Integrating Socket.IO
Socket.IO 由两部分组成:
¥Socket.IO is composed of two parts:
与 Node.JS HTTP Server socket.io 集成(或安装)的服务器
¥A server that integrates with (or mounts on) the Node.JS HTTP Server socket.io
在浏览器端加载的客户端库 socket.io-client
¥A client library that loads on the browser side socket.io-client
在开发过程中,socket.io 自动为我们服务客户端,正如我们将看到的,所以现在我们只需要安装一个模块:
¥During development, socket.io serves the client automatically for us, as we’ll see, so for now we only have to install one module:
npm install socket.io
这将安装该模块并将依赖添加到 package.json。现在让我们编辑 index.js 添加它:
¥That will install the module and add the dependency to package.json. Now let’s edit index.js to add it:
const express = require('express');
const app = express();
const http = require('http');
const server = http.createServer(app);
const { Server } = require("socket.io");
const io = new Server(server);

app.get('/', (req, res) => {
  res.sendFile(__dirname + '/index.html');
});

io.on('connection', (socket) => {
  console.log('a user connected');
});

server.listen(3000, () => {
  console.log('listening on *:3000');
});
请注意,我通过传递 server(HTTP 服务器)对象来初始化 socket.io 的新实例。然后,我监听传入套接字的 connection 事件并将其记录到控制台。
¥Notice that I initialize a new instance of socket.io by passing the server (the HTTP server) object. Then I listen on the connection event for incoming sockets and log it to the console.
现在在 index.html 中的 </body>(结束正文标记)之前添加以下代码片段:
¥Now in index.html add the following snippet before the </body> (end body tag):
<script src="/socket.io/socket.io.js"></script>
<script>
  var socket = io();
</script>
这就是加载 socket.io-client 所需的全部操作,它公开了 io 全局变量(和端点 GET /socket.io/socket.io.js),然后进行连接。
¥That’s all it takes to load the socket.io-client, which exposes an io global (and the endpoint GET /socket.io/socket.io.js), and then connect.
如果你想使用本地版本的客户端 JS 文件,可以在 node_modules/socket.io/client-dist/socket.io.js 找到它。
¥If you would like to use the local version of the client-side JS file, you can find it at node_modules/socket.io/client-dist/socket.io.js.
你还可以使用 CDN 代替本地文件(例如 <script src="https://cdn.socket.io/4.7.2/socket.io.min.js"></script>)。
¥You can also use a CDN instead of the local files (e.g. <script src="https://cdn.socket.io/4.7.2/socket.io.min.js"></script>).
请注意,当我调用 io() 时,我没有指定任何 URL,因为它默认尝试连接到提供该页面的主机。
¥Notice that I’m not specifying any URL when I call io(), since it defaults to trying to connect to the host that serves the page.
如果你使用反向代理(例如 apache 或 nginx),请查看 它的文档。
¥If you're behind a reverse proxy such as apache or nginx please take a look at the documentation for it.
如果你将应用托管在不是网站根目录的文件夹中(例如 https://example.com/chatapp),那么你还需要在服务器和客户端中指定 路径。
¥If you're hosting your app in a folder that is not the root of your website (e.g., https://example.com/chatapp) then you also need to specify the path in both the server and the client.
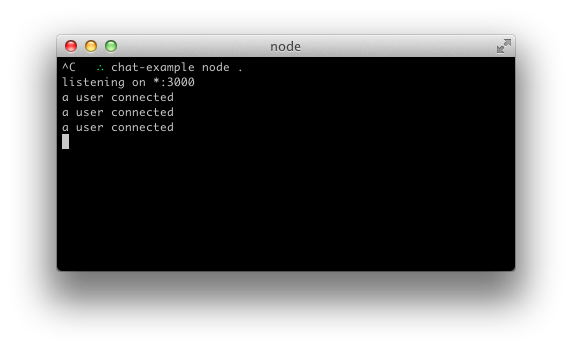
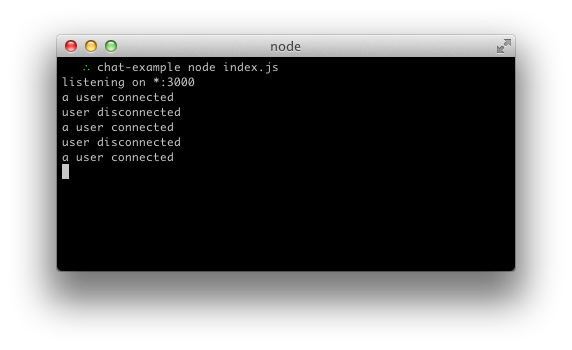
如果你现在重新启动该过程(通过按 Control+C 并再次运行 node index.js),然后刷新网页,你应该会看到控制台打印“用户已连接”。
¥If you now restart the process (by hitting Control+C and running node index.js again) and then refresh the webpage you should see the console print “a user connected”.
尝试打开多个选项卡,你会看到几条消息。
¥Try opening several tabs, and you’ll see several messages.
每个套接字还会触发一个特殊的 disconnect 事件:
¥Each socket also fires a special disconnect event:
io.on('connection', (socket) => {
  console.log('a user connected');
  socket.on('disconnect', () => {
    console.log('user disconnected');
  });
});
然后,如果你多次刷新选项卡,你就可以看到它的运行情况。
¥Then if you refresh a tab several times you can see it in action.
触发事件
¥Emitting events
Socket.IO 背后的主要思想是你可以发送和接收任何你想要的事件以及任何你想要的数据。任何可以编码为 JSON 的对象都可以,并且也支持 二进制数据。
¥The main idea behind Socket.IO is that you can send and receive any events you want, with any data you want. Any objects that can be encoded as JSON will do, and binary data is supported too.
让我们这样做,以便当用户输入消息时,服务器将其作为 chat message 事件获取。index.html 中的 script 部分现在应如下所示:
¥Let’s make it so that when the user types in a message, the server gets it as a chat message event. The script section in index.html should now look as follows:
<script src="/socket.io/socket.io.js"></script>
<script>
  var socket = io();

  var form = document.getElementById('form');
  var input = document.getElementById('input');

  form.addEventListener('submit', function(e) {
    e.preventDefault();
    if (input.value) {
      socket.emit('chat message', input.value);
      input.value = '';
    }
  });
</script>
在 index.js 中,我们打印出 chat message 事件:
¥And in index.js we print out the chat message event:
io.on('connection', (socket) => {
  socket.on('chat message', (msg) => {
    console.log('message: ' + msg);
  });
});
结果应如以下视频所示:
¥The result should be like the following video:
https://i.cloudup.com/transcoded/zboNrGSsai.mp4
广播
¥Broadcasting
我们的下一个目标是将事件从服务器发送给其他用户。
¥The next goal is for us to emit the event from the server to the rest of the users.
为了向所有人发送事件,Socket.IO 给我们提供了 io.emit() 方法。
¥In order to send an event to everyone, Socket.IO gives us the io.emit() method.
io.emit('some event', { someProperty: 'some value', otherProperty: 'other value' }); // This will emit the event to all connected sockets
如果你想向除某个发送套接字之外的所有人发送消息,我们有 broadcast 标志用于从该套接字发送:
¥If you want to send a message to everyone except for a certain emitting socket, we have the broadcast flag for emitting from that socket:
io.on('connection', (socket) => {
  socket.broadcast.emit('hi');
});
在这种情况下,为了简单起见,我们会将消息发送给每个人,包括发送者。
¥In this case, for the sake of simplicity we’ll send the message to everyone, including the sender.
io.on('connection', (socket) => {
  socket.on('chat message', (msg) => {
    io.emit('chat message', msg);
  });
});
在客户端,当我们捕获 chat message 事件时,我们会将其包含在页面中。现在客户端 JavaScript 代码总数为:
¥And on the client side when we capture a chat message event we’ll include it in the page. The total client-side JavaScript code now amounts to:
<script src="/socket.io/socket.io.js"></script>
<script>
  var socket = io();

  var messages = document.getElementById('messages');
  var form = document.getElementById('form');
  var input = document.getElementById('input');

  form.addEventListener('submit', function(e) {
    e.preventDefault();
    if (input.value) {
      socket.emit('chat message', input.value);
      input.value = '';
    }
  });

  socket.on('chat message', function(msg) {
    var item = document.createElement('li');
    item.textContent = msg;
    messages.appendChild(item);
    window.scrollTo(0, document.body.scrollHeight);
  });
</script>
大约 20 行代码就完成了我们的聊天应用!它看起来是这样的:
¥And that completes our chat application, in about 20 lines of code! This is what it looks like:
https://i.cloudup.com/transcoded/J4xwRU9DRn.mp4
家庭作业
¥Homework
以下是改进应用的一些想法:
¥Here are some ideas to improve the application:
当有人连接或断开连接时,向已连接的用户广播消息。
¥Broadcast a message to connected users when someone connects or disconnects.
添加对昵称的支持。
¥Add support for nicknames.
不要向发送该消息的用户发送相同的消息。而是,只要他们按下 Enter 键,就直接附加消息。
¥Don’t send the same message to the user that sent it. Instead, append the message directly as soon as they press enter.
添加“{user} 正在打字”功能。
¥Add “{user} is typing” functionality.
显示谁在线。
¥Show who’s online.
添加私有消息。
¥Add private messaging.
分享你的改进!
¥Share your improvements!
获取这个例子
¥Getting this example
你可以在 GitHub 此处 上找到它。
¥You can find it on GitHub here.
git clone https://github.com/socketio/chat-example.git